5 Jahre nach Projektstart
haben wir endlich einen Glasfaseranschluss bekommen,
und zwar mit der enviaTel
als ISP.
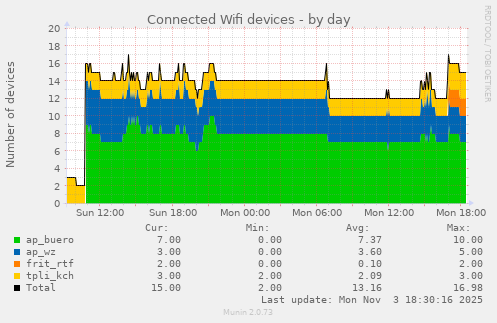
Kurz nach der Umstellung bemerkte ich, daß SSH-Verbindungen nach
einiger Zeit unterbrochen wurden und hängen blieben
- anfangs konnte man sie normal benutzen, aber dann reagierten
sie nicht mehr auf Eingaben.
FritzBox?
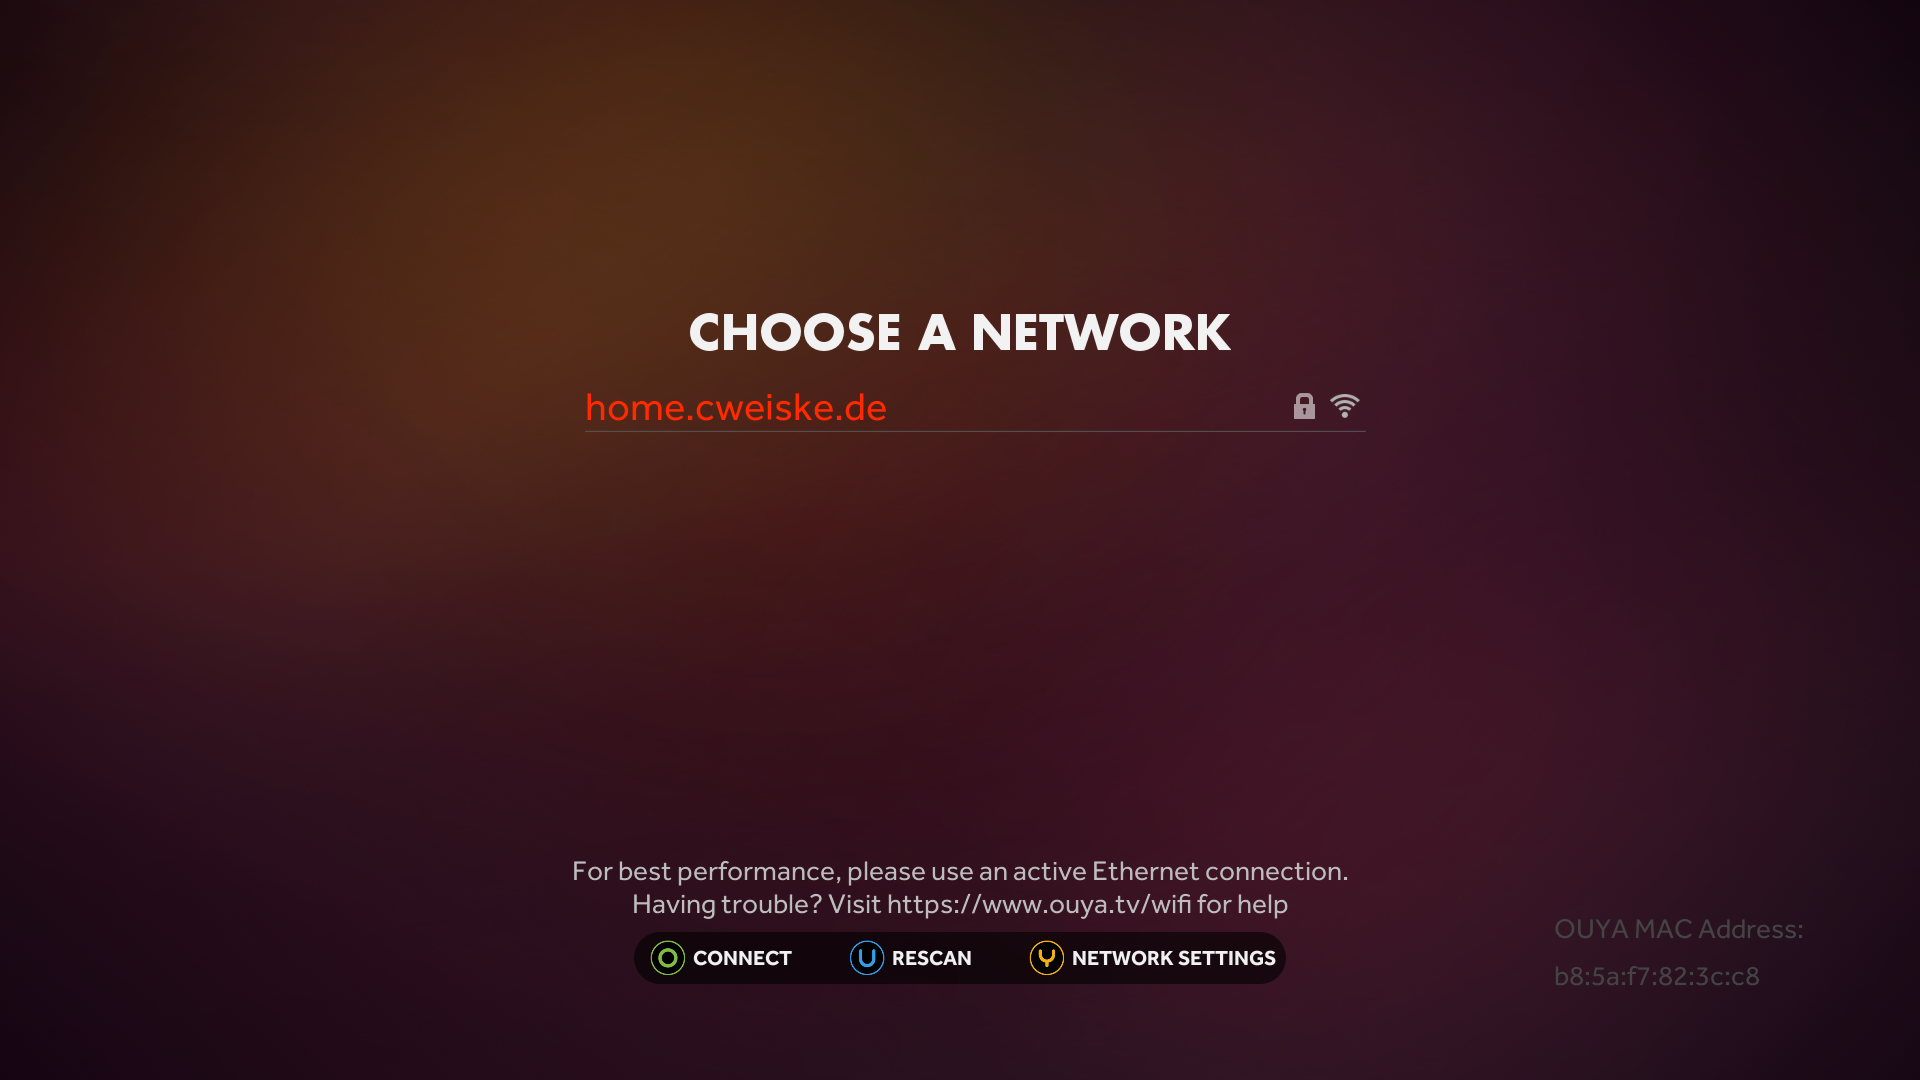
Als Router bekamen wir eine Fritzbox 5530 Fiber,
und diese machte ich auch erstmal für das Problem verantwortlich.
AVM selbst dokumentiert,
daß FritzBoxen Verbindungen nach 15 Minuten trennen.
Weiterhin gibt es im Netz viele Berichte über dieses Problem,
allerdings sind die meisten schon mehr als 15 Jahre alt:
Bevor ich mit an den enviaTel-Support wandte, wollte ich aber erstmal
genauere Daten haben.
Problemeingrenzung
Der Blogpost
My ISP Is Killing My Idle SSH Sessions. Yours Might Be Too.
verwies auf das Tool
NAT-TCP-test,
dessen Server aber leider
nicht mehr läuft.
Das Kompilieren des Codes auf dem Server war mir zu aufwändig,
weshalb ich eine Alternative suchte.
Zuerst probierte ich es manuell, schwenkte dann aber schnell auf einen
Automatismus um:
$ date && ssh cweiske.de "sleep 240; date"
Fr 20. Sep 10:25:30 CEST 2024
Fr 20. Sep 10:29:30 CEST 2024
Die aktuelle Zeit wird ausgegeben, dann die SSH-Verbindung aufgebaut,
einige Sekunden gewartet und die Zeit auf dem Server ausgegeben.
Wenn die Verbindung zwischendurch gekillt wird,
wird das 2. Datum nicht zu sehen sein.
Den Befehl startete ich mit unterschiedlichen Wartezeiten in mehreren
Shells und bekam 300 Sekunden - exakt 5 Minuten - als Grenze heraus.
300 Sekunden waren ok, 301 nicht mehr.
Da die FritzBox untätige Verbindungen erst nach 15 Minuten trennt,
konnte ich sie als Problemursache ausschließen.
Andere Probleme
Nicht nur SSH machte Probleme, sondern auch andere Programme zeigten
Fehlverhalten:
Das native E-mailprogramm auf dem DM7080HD-Satellitenreceiver
blieb regelmäßig hängen und konnte auch mit dem sonst üblicherweise
funktionierendem
Programm-verlassen-und-wieder-reingehen keine neuen Mails empfangen.
Im Android-Emailprogramm K-9 Mail konnte ich keine neuen
E-Mails mehr abholen bis ich es hart beendet und neu gestartet hatte.
Das Android-Synchronisationstool DAVx5 zeigte Fehlermeldungen an:
Weicher Fehler (maximale Anzahl an Wiederholungen erreicht)
Carrier-Grade NAT
Ich schilderte dem enviaTel-Support mein Problem.
Der erläuterte, daß mein Internetanschluss Teil eines
Carrier-Grade NAT
(CG-NAT) ist.
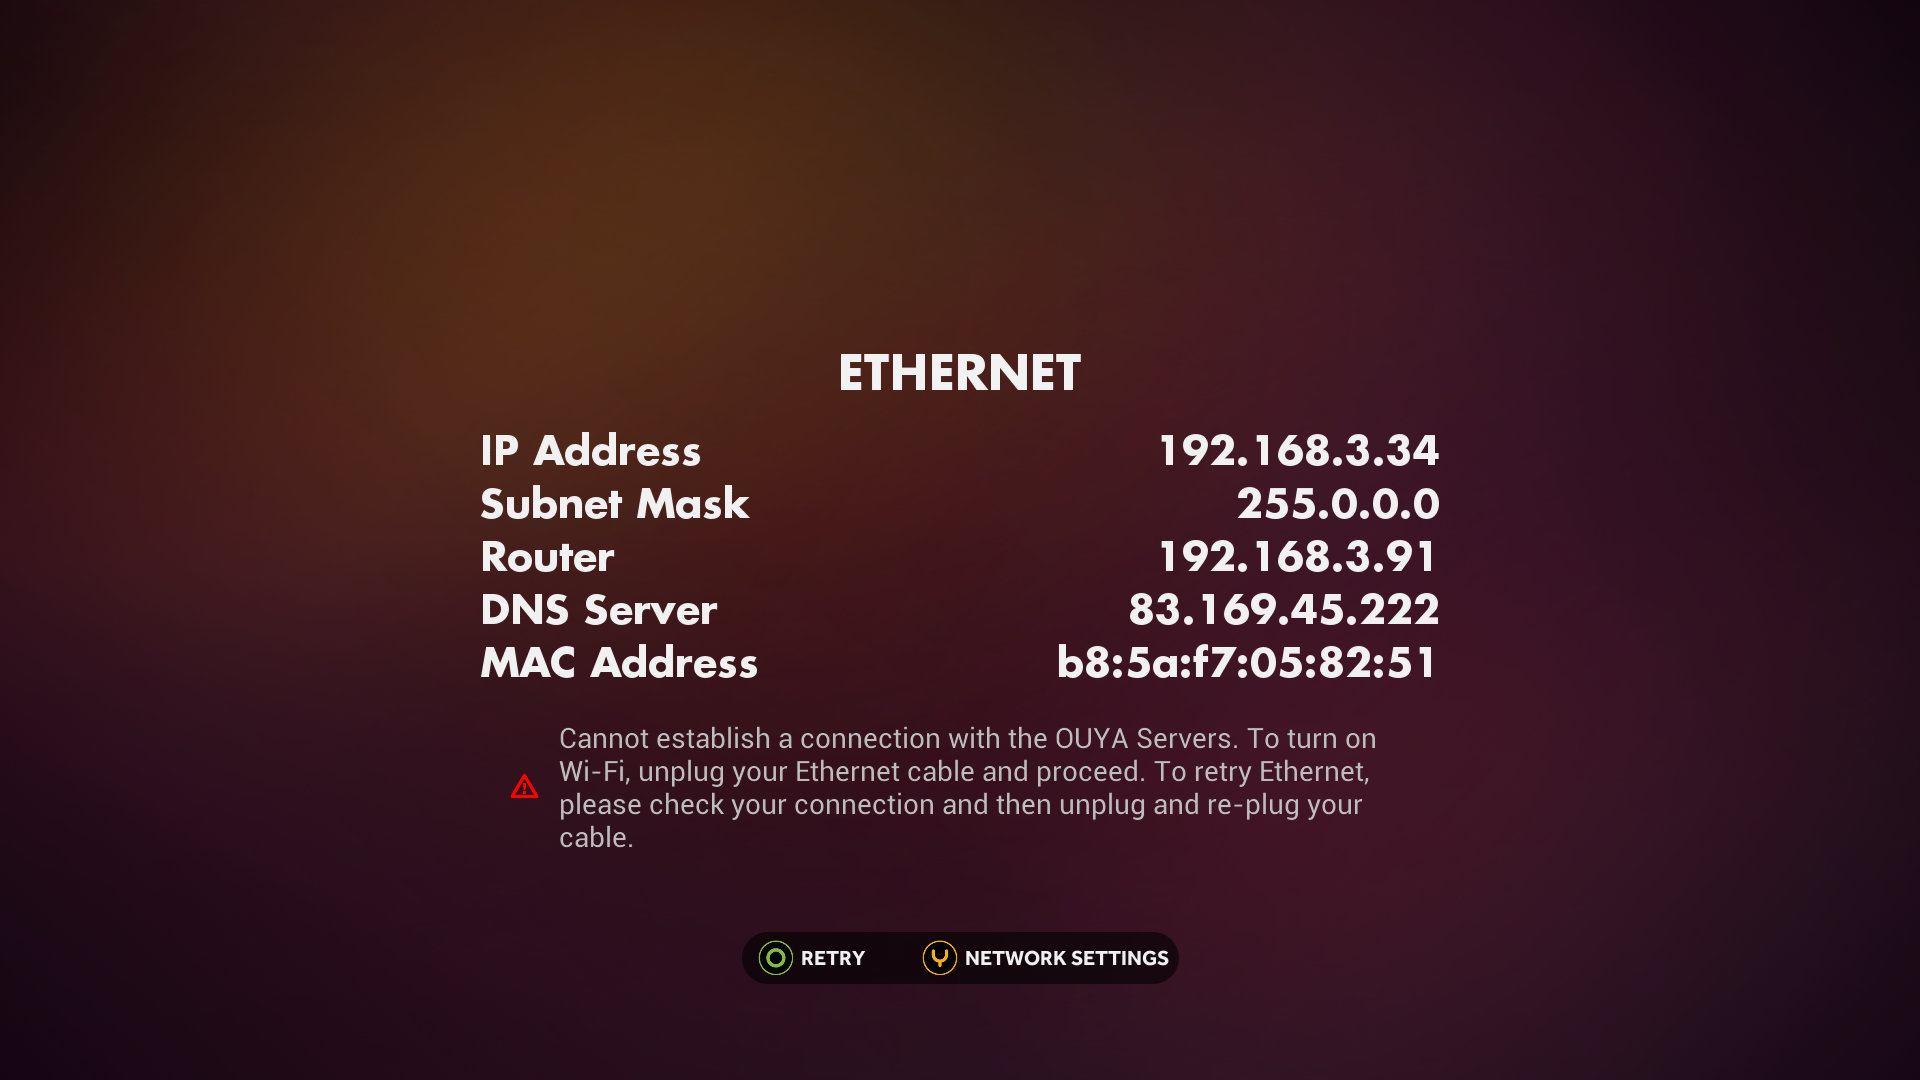
Das bedeutet, daß der Router keine echte öffentliche IPv4-Adresse bekommt,
sondern nur eine enviaTel-interne.
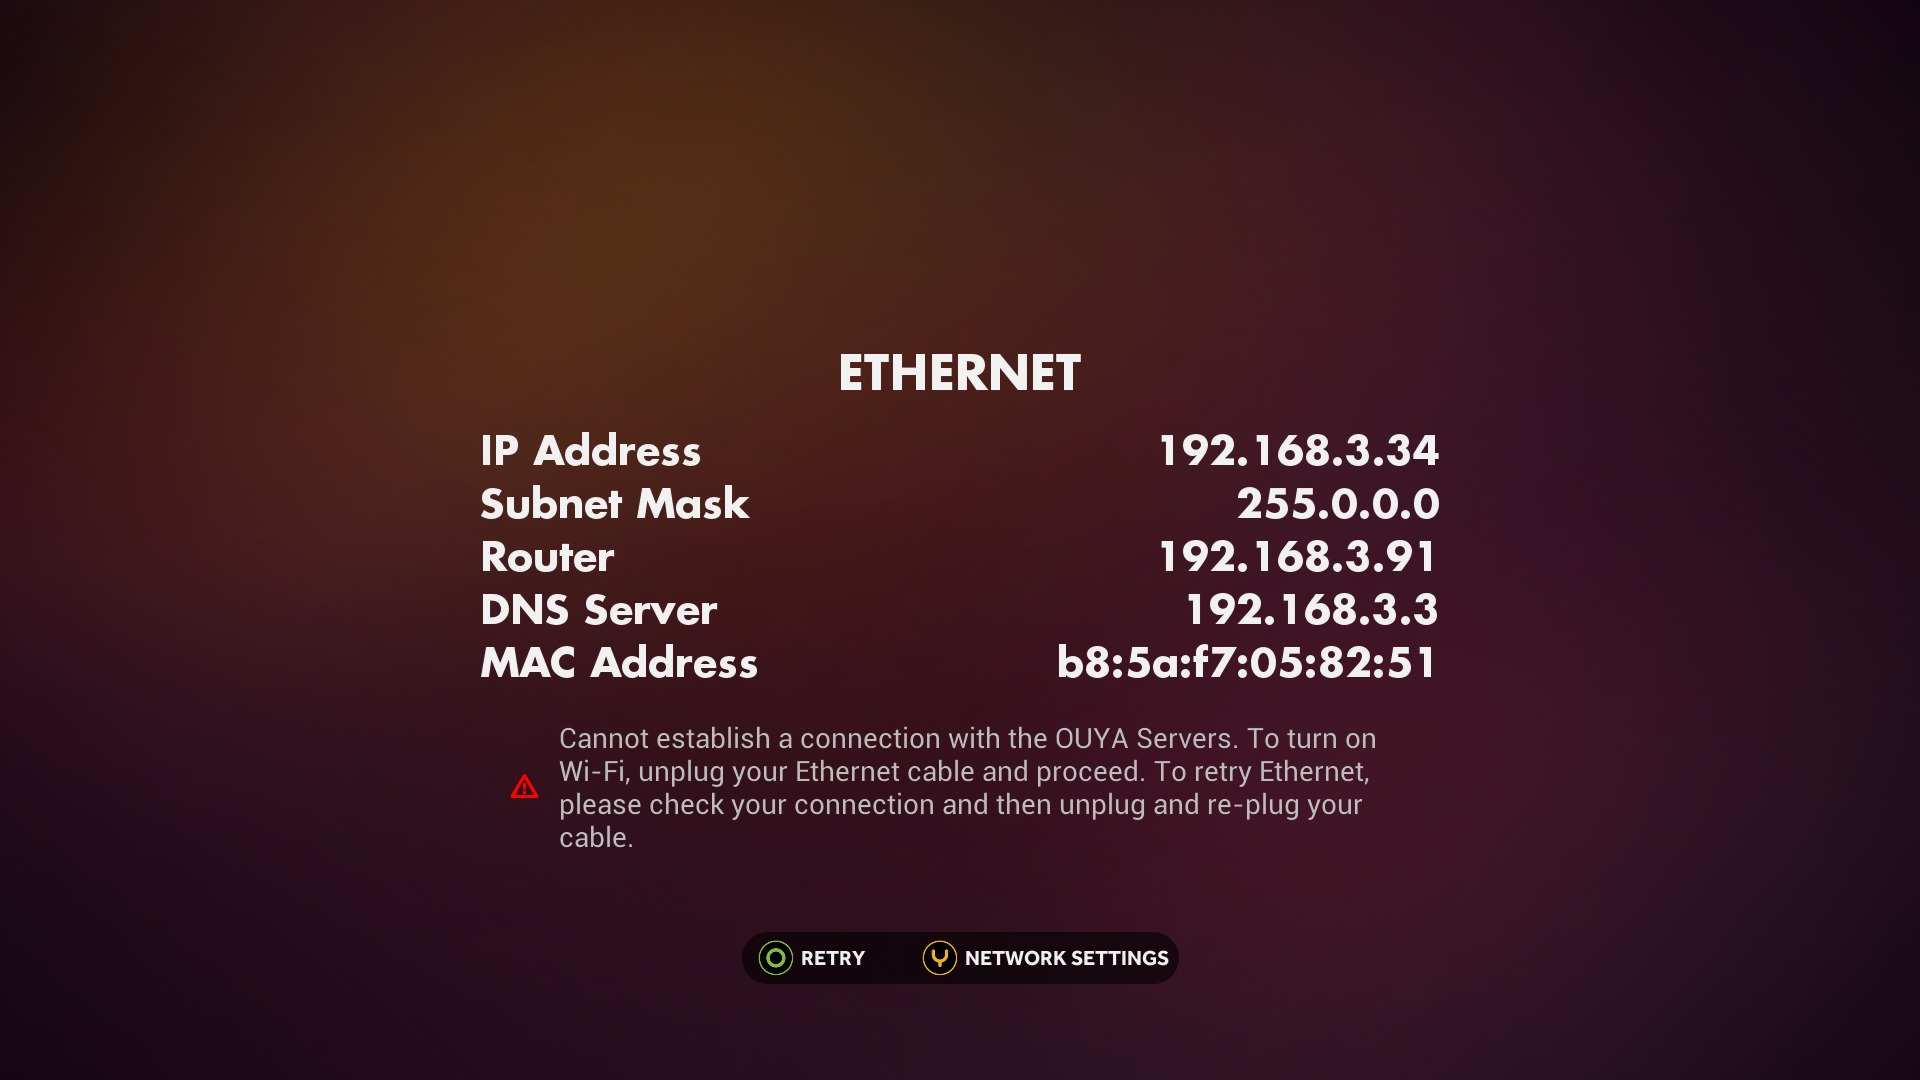
Beim Test mit ip.cweiske.de bekam
ich die 212.99.194.23 als öffentliche IP angezeigt,
während die FritzBox die externe IP 100.65.240.42 hatte.
CG-NAT verhindert zum einen Verbindungen aus dem Internet auf den Router
(VPN ade)
- und zum anderen heißt CG-NAT, daß es noch eine 2. Routerebene gibt,
die IP-Verbindungen von der enviaTel-internen IP auf die öffentliche
mappt.
Der Support bot mir an, zu Diagnosezwecken auf eine echte öffentliche
IPv4-Adresse umzustellen.
Sobald das getan war, waren die Verbindungsprobleme weg
- SSH-Verbindungen blieben sogar mehr als eine Stunde offen.
Eine FritzBox im Jahr 2024 tötet inaktive SSH-Verbindungen
also nicht nach 15 Minuten.
Das früher mal existierende Problem existiert nicht mehr.
Ich verwies den Support auf
Abschnitt 5 der RFC 5382:
REQ-5:
If a NAT cannot determine whether the endpoints of a TCP
connection are active, it MAY abandon the session if it has been
idle for some time. In such cases, the value of the "established
connection idle-timeout" MUST NOT be less than 2 hours 4 minutes.
The value of the "transitory connection idle-timeout" MUST NOT be
less than 4 minutes.
Das ist genau dasselbe Problem, das ato im oben verlinkten
Blogbeitrag hatte.
Zum Schluß habe ich mich mit der enviaTel darauf geeinigt,
daß ich die echte IPv4-Adresse kostenlos bekomme bis das Problem behoben ist
(statt üblicherweise 3€/Monat).
weitere Stichwörter: NAT-Keep-Alive